


Directions: Woven upcycled burp rag blanket.
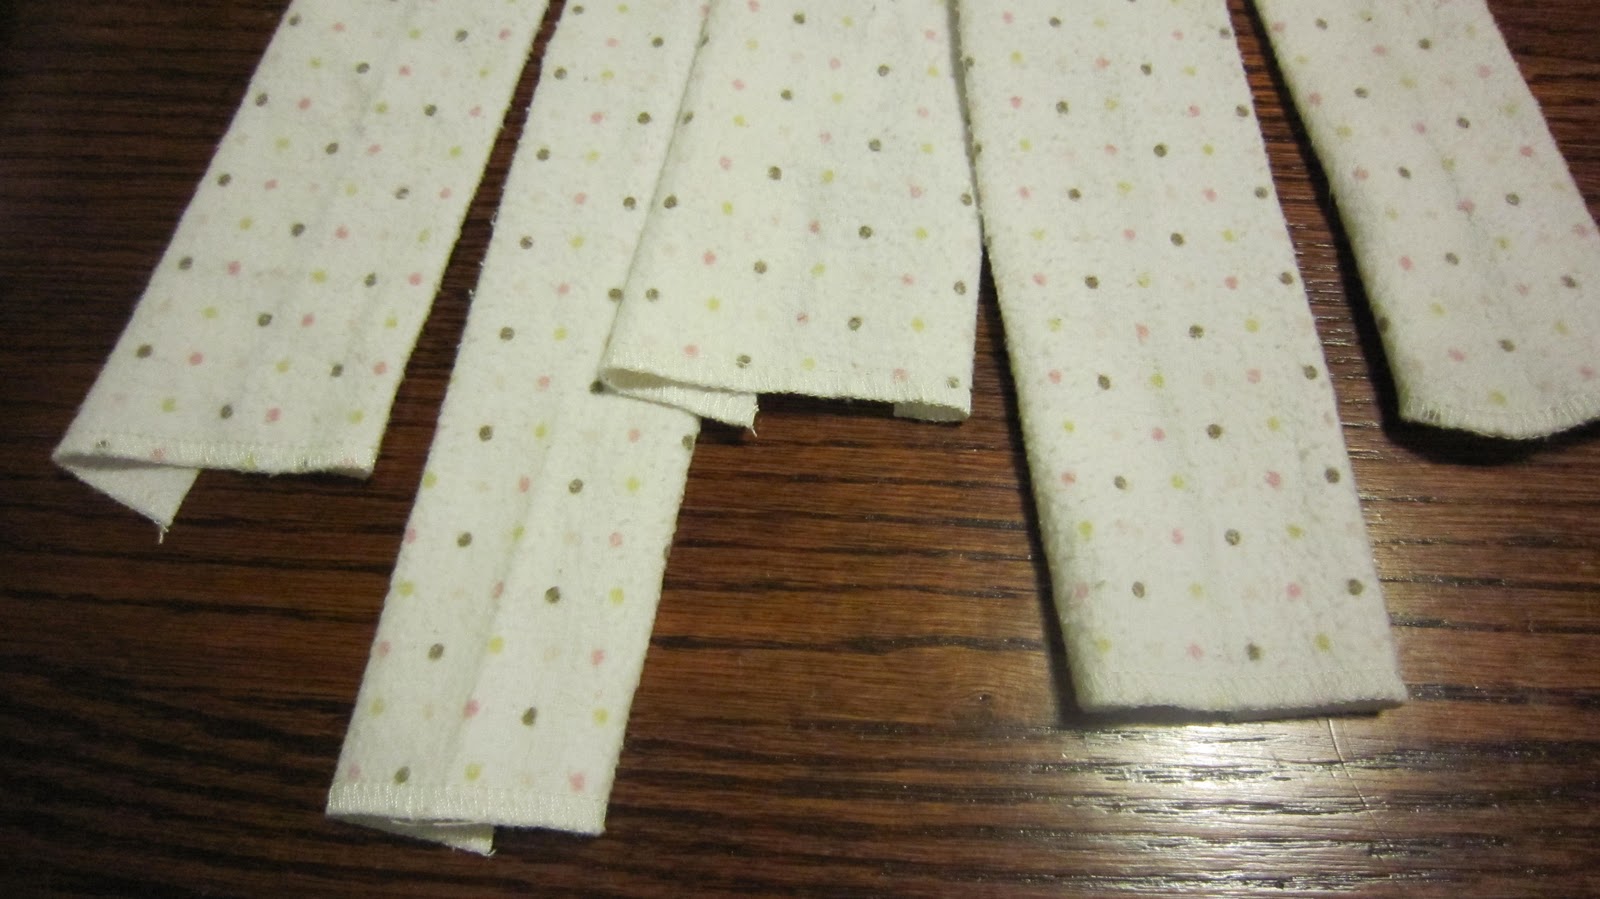
Step 1: Gather up at least four different burp rags (I used six). Fold them in half (hot dog style), half again, and than one more time (see photo to the above). Cut all of the folds which should leave you with 8 strips. Do this with all your burp rags.

 Step 2: This step is a little boring, so I would recommend turning on a good movie while doing this project. Anyway, you're going to want to turn all of your strips into bias tape. Which means you need to dust off your iron (if you're like me) and fold a strip in half, iron. Open it up and fold sides into the center, iron. (See both photos). Repeat with all strips (hence the boring part).

Step 3: Line half of your strips on a table. Once you have them all lined up weave your first vertical strip in an pin it down. See the photos. Continue weaving all of the rest of the strips until you get to the end.


Step 4: Pin all around the outside of the blanket. This will hold the whole blanket together. You could even lift it up and move it. Which is exactly what I did because at this point it was 11:30 pm and I wanted to sleep.


After a (somewhat) good nights rest I was ready to finish the blanket. I was able to finish all rest of these steps in less than an hour.
Step 5: Sew all around the blanket. Make sure you are sewing both strips together.

 Step 6: Now trim the edges so that they are about 1/4 inch past your seam.
 Place the weaved blanket onto the back and pin together. Sew all the way around, again.

So for this last step you have some options. You can either make your own bias tape with a fabric of your choice (see step 2 again). Or you can buy bias tape already made. I usually would be all for making your own bias tape for the recycling aspect and because I love to save money, but I went to a church bazaar last year and bought a bag of fabric and bias tape for a dollar! So since I had some already I picked the color I liked the best and rolled with it.
Step 7: Once you have the bias tape ready, you need to pin it on your blanket. I like to pin it on one side at a time. Sew the side (with a zigzag pattern), and pin the next. Repeat with all four sides. Cut any extra strings poking out and...you have yourself a new(ish) blanket!


I ended up using a little more than half of all my strips so that means: I can make another blanket! I think I am going to try to make one with thinner strips for Liana's many dolls.


No comments:
Post a Comment